
9 Easy Steps for Screen Preparation in Screen Printing
Screen Printing
Screen preparation for screen printing is described easy way step by step in this article. Printing on cotton can be done through various methods, such as screen printing, digital printing, heat transfer printing, and sublimation printing. Screen printing involves creating a stencil on a mesh screen and using a squeegee to push ink through the stencil onto the cotton fabric.
This method is ideal for larger orders of t-shirts or other cotton garments. Digital printing uses a specialized inkjet printer to print the design onto the cotton fabric directly. This method is suitable for smaller orders or complex designs with many colors or gradients. Heat transfer printing involves printing the design onto transfer paper and using heat to transfer the design onto the cotton fabric.
This method is suitable for smaller orders or designs with great detail. Sublimation printing involves using a special ink and transfer paper to print the design onto a sublimation-compatible material, which is then heat-pressed onto the cotton fabric. This method is ideal for designs that require high-quality and long-lasting prints. When choosing a printing method for cotton, it is essential to consider factors such as the design, the quantity of items to be printed, and the desired quality of the final product. In addition to the printing methods mentioned above, there are other factors to consider when printing on cotton.
One important factor is the type of cotton fabric being used. For example, 100% cotton fabric will absorb more ink and produce a more vibrant print than a cotton blend fabric. Another consideration is the color of the cotton fabric. Lighter-colored fabrics will produce brighter and more vibrant prints, while darker-colored fabrics may require under a base layer of white ink to make the design pop. It’s also essential to choose suitable ink for the printing method. Different inks have different properties, such as drying time, durability, and color vibrancy. Water-based inks are commonly used for screen printing on cotton, while sublimation printing requires specialized dye sublimation ink.
Finally, ensuring the printing process is done correctly is important to achieve the desired result. This may include proper pre-treatment of the fabric, correct ink application and curing, and quality control measures to ensure that the final product meets the desired standards. Before going to the screen preparation process, let learn about basic textile printing methods.
Basic Textile Printing Methods:
There are several different printing techniques that can be used for various types of printing applications. But three of the most commonly used techniques include:
- Direct printing
- Discharge printing
- Resist printing
1. Direct Printing:
Direct printing is a technique that involves printing an image or design directly onto a surface without the need for an intermediate transfer medium. In fabric printing, direct printing refers to printing a design directly onto fabric without using transfer paper or any other intermediary material. Direct printing on fabric can be done using various methods, such as screen printing, digital printing, direct-to-garment printing, carved block, stencil, and engrave roller. Each method has advantages and disadvantages and is suitable for different types of fabric and design requirements. Screen printing involves creating a stencil on a mesh screen and using a squeegee to push ink through the stencil onto the fabric.
Screen printing is ideal for printing more significant quantities of fabric and can produce highly detailed designs with vibrant colors. Digital printing involves using a specialized inkjet printer to print the design onto the fabric directly. This method is suitable for printing smaller quantities of fabric and can produce highly detailed designs with many colors. Direct-to-garment printing is a newer technique that uses a specialized printer to print the design directly onto the fabric, similar to a digital printer. This method is suitable for printing smaller quantities of fabric and can produce highly detailed designs with many colors.
Direct printing on fabric has several advantages, including a high level of detail and color accuracy and the ability to print small quantities. However, direct printing may only be suitable for some types of fabric or designs, and it is essential to choose the right printing method for the specific requirements of each project.
2. Discharge Printing:
Discharge printing is a technique used to print designs onto dark-colored fabric. The process involves removing the dye or color from the fabric rather than adding ink on top of the fabric. A discharge agent is applied to the fabric, eliminating the dye or pigment from the fabric in the areas where the design is to be printed. The fabric is then washed to remove any remaining discharge agent, and the resulting print appears as a lighter shade of the original fabric color.
Discharge printing is famous for its ability to produce soft, breathable prints that are ideal for t-shirts and other garments. However, the process can be more complex and time-consuming than traditional printing methods and may only be suitable for some fabrics or designs. Working with a reputable printing company with experience with discharge printing is essential to ensure the best possible results.
3. Resist Printing
Resist printing is a technique used to create designs on fabric by blocking or resisting the dye in certain areas. The process involves applying a resist substance to the fabric before dyeing, which creates a barrier that prevents the dye from penetrating those areas. When the resist is removed, the fabric underneath remains undyed, creating the desired design.
There are several types of resist printing techniques, including:
- Batik: This is a traditional resist printing technique that involves applying hot wax to the fabric before dyeing. The wax creates a resist barrier, and when the fabric is dyed, the waxed areas resist the dye, creating a design.
- Tie-dye: This is a popular resist printing technique that involves tying and binding sections of fabric before dyeing. The tied areas resist the dye, creating a unique and often colorful design.
- Block printing: This is a technique where a design is carved into a block, and then ink is applied to the block and stamped onto the fabric. The inked areas create a resist barrier that prevents dye from penetrating the fabric, creating a design.
Resist printing is a versatile technique that can be used to create a wide range of designs and patterns on fabric. However, it requires skill and practice to achieve the desired results, and the final outcome can be influenced by factors such as the type of resist used, the dyeing process, and the type of fabric.
This article will explain the process of screen preparing for screen printing.
Flow-chart of Screen Preparation for Screen Printing:
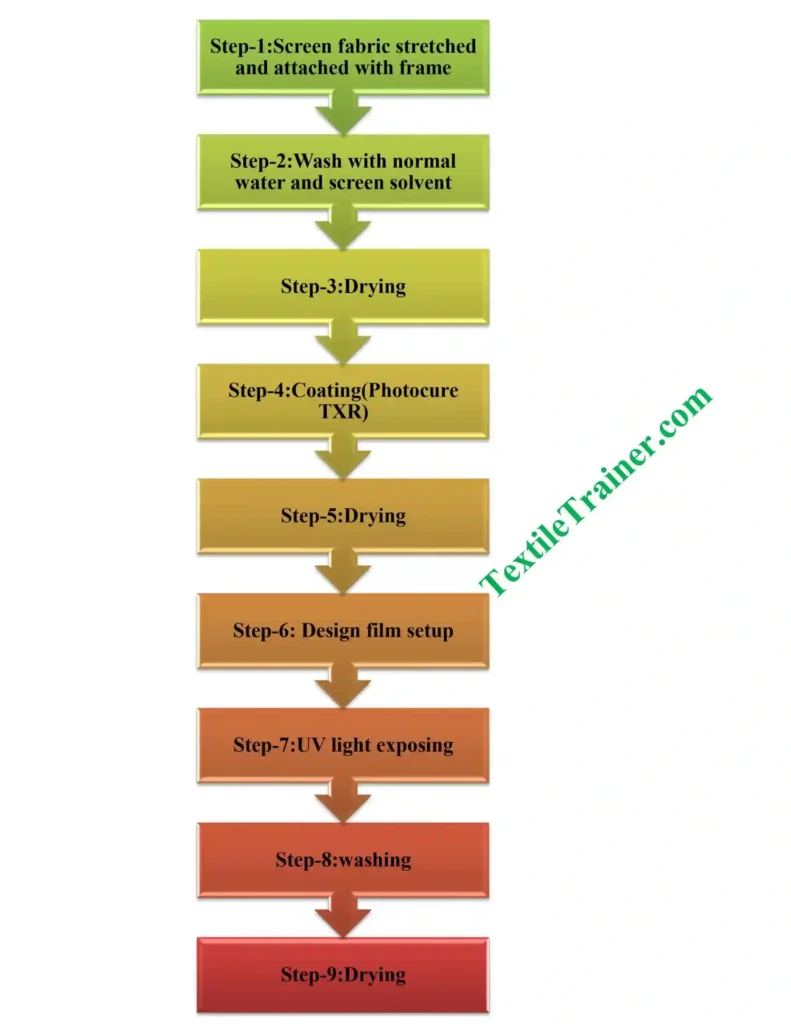
Now, I will explain all the process of screen preparation step by step in details
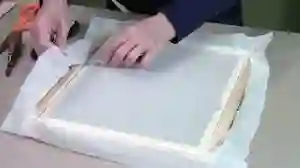
Step-1: Screen fabric stretched and attached with frame
First, select a screen frame that is the appropriate size for your design. Screen frames are typically made of wood or aluminum and are available in various sizes. Cut a piece of mesh fabric that is larger than the screen frame. Make sure to leave enough fabric to wrap around the frame. Place the mesh fabric on top of the screen frame and use a staple gun to attach one end of the fabric to the frame. Pull the fabric taut and staple the opposite end to the frame. Repeat the process for the remaining two sides, pulling the fabric as tightly as possible.
Step-2: Wash with normal water and screen solvent
It’s important to thoroughly clean the screen using a combination of normal water and screen solvent to ensure that all dust is removed from the mesh fabric. This will ensure that the printing process goes smoothly and that the final print is high quality.
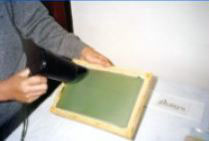
Step-3: Drying
Then dry the screen to remove water. Screen is dried about 550 for min.
Step-4: Coating (Photocure TXR)
To apply the emulsion onto the mesh fabric of a screen frame during the screen coating process, use a squeegee to spread the emulsion on both sides of the screen. Since emulsion is a liquid, it will naturally seep through the mesh and onto the other side when applied. It is important to ensure that the emulsion is spread evenly on both sides of the screen to create a smooth and uniform coating.
To check this, hold up the screen frame to a light source to see if there are any areas where the emulsion has yet to be applied or is too thin. Ensuring that the screen is coated as evenly as possible is essential for creating a high-quality stencil that will result in a successful print. Take your time during this step, use a steady hand, and be sure to cover all areas of the mesh fabric to achieve the desired result. This work must be done in a dark room.
Two coating chemical is need to make emulsion. They are:
- Autosol-99%
- Sensitizer (K2Cr2O7)-1%
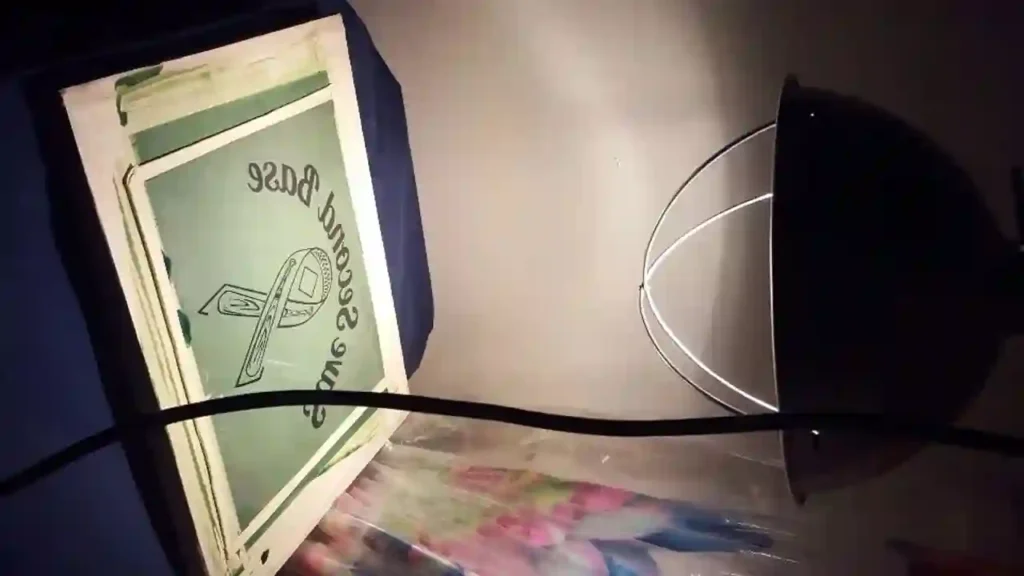
Step-5: Drying
After applying emulsion onto the mesh fabric of a screen frame during the screen coating process, the screen frame must be allowed to dry in a dark room or under a yellow light. This is because the emulsion is photosensitive and will react to light, causing it to harden and create a stencil. The drying process typically takes 5 min, and a temperature is 550.
During this time, the emulsion must be protected from light sources that could harden it prematurely. A dark room or yellow light is used to ensure that the emulsion remains wet and does not start to harden before it is exposed to light to create the stencil. Once the emulsion is thoroughly dried and ready to be exposed to sunlight, a transparency film with the design is placed on the screen and exposed to light.
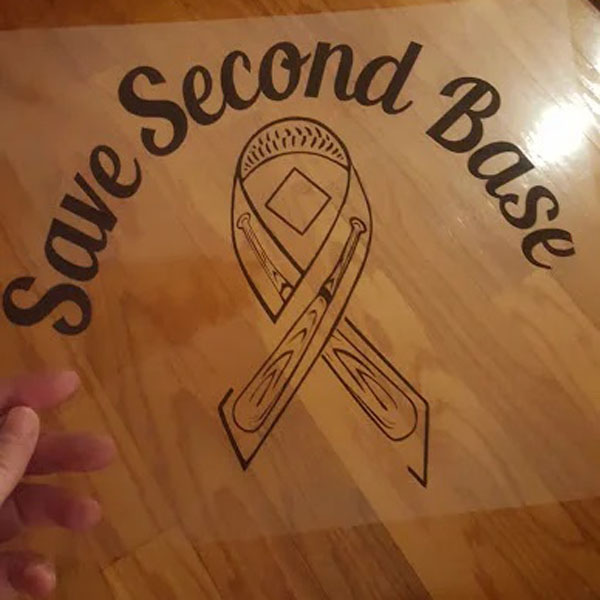
Step-6: Design film setup
To prepare for screen printing, you will require transparency of the design you want to print. Ensure the image is in black and white, which will help create a clear and precise stencil for the printing process.
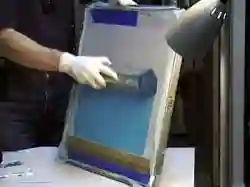
Step-7:UV light exposing
U.V. light exposure is a critical step in the screen printing process for fabric. Once the emulsion has been applied onto the mesh fabric and allowed to dry, a transparency film with the design is placed on top of the screen and secured in place. The screen is then exposed to U.V. light, which causes the emulsion in the unexposed areas of the screen to harden and become insoluble. The length of time the screen is exposed to U.V. light will depend on a few factors, such as the strength of the light source and the type of emulsion being used. The exposure time may need to be adjusted accordingly for optimal results. But approximately 10-15 seconds are required.
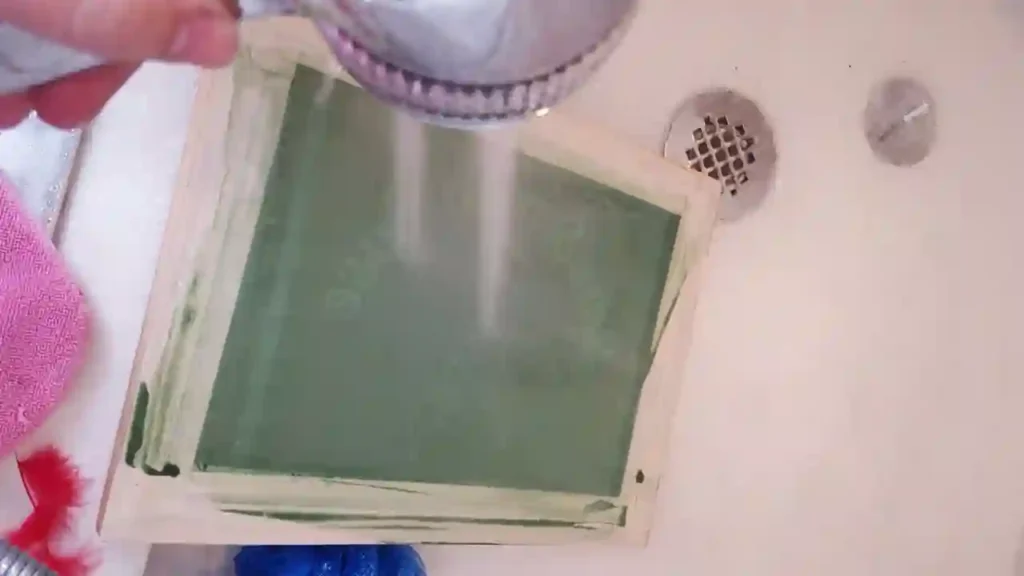
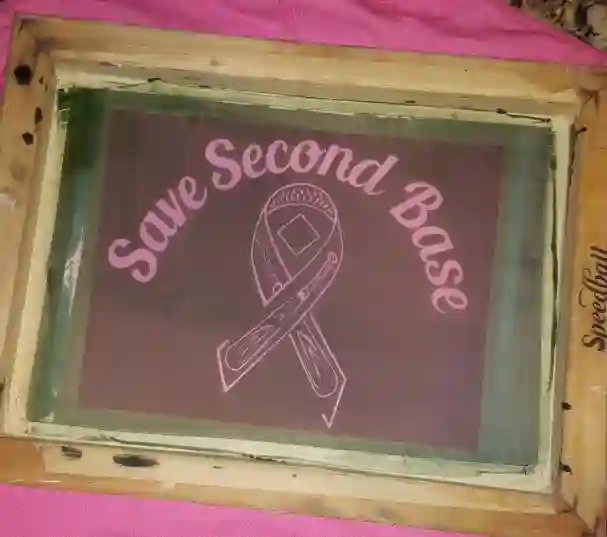
Step-8: Washing
After the screen is exposed to the U.V. light, it is rinsed with water. The areas of the screen that were not exposed to the light will dissolve, leaving behind the hardened emulsion in the shape of the desired design. This stencil will then be used to transfer ink onto the fabric during the printing process. It is important to handle the screen carefully during exposure to ensure that the transparency film remains securely in place and the emulsion is evenly exposed to the U.V. light. You can create a high-quality stencil with proper exposure and handling to produce a successful and precise print on the fabric.
Step-9: Drying
After washing, the screen needs to be fully dry before it can be used for printing. This can be achieved by leaving the screen in a well-ventilated area for a few hours or using a drying cabinet or fan to speed up the process. It is important to ensure that the screen is completely dry before starting the printing process, as any residual moisture can cause the ink to bleed or affect the adhesion of the ink to the fabric. Proper screen drying is essential to ensure a successful and high-quality print on the fabric.
It is important to ensure that the screen is completely dry before starting the printing process, as any residual moisture can cause the ink to bleed or affect the adhesion of the ink to the fabric. Proper screen drying is essential to ensure a successful and high-quality print on the fabric.
These are the step of screen preparation for screen printing
Conclusion:
In conclusion, screen printing is a versatile and popular application technique, from t-shirts and textiles to packaging and promotional materials. The process involves preparing a screen with emulsion and creating a stencil through exposure to U.V. light, which is then used to transfer ink onto the printed fabric or material. Proper screen preparation is crucial to achieving a successful and high-quality print.
This includes choosing the suitable mesh fabric, applying emulsion evenly, and ensuring the screen is completely dry before use. U.V. light exposure is a critical step in the screen printing process. Proper exposure times and handling are essential to creating a high-quality stencil that will produce a clear and vibrant print. The drying process of the screen is also a necessary step in the screen printing process. Ensuring the screen is fully dry before proceeding with the following steps is crucial to achieving a successful print.
By following these steps and techniques, screen printing can be a fun and rewarding way to create custom designs and prints for various applications. With practice and attention to detail, you can easily create stunning and professional-looking prints. However, these are the 9 step for screen preparation.